Welcome to the GE DBXR463ED1WW Repair Manual, a comprehensive guide designed to help you troubleshoot, maintain, and repair your dryer effectively. This manual covers essential topics, including common issues, diagnostic steps, and safety precautions, ensuring you have the knowledge to keep your appliance running smoothly. Perfect for DIY enthusiasts and novices alike, it provides detailed instructions, diagrams, and resources to address various problems and prevent future issues.
1.1 Overview of the Manual’s Purpose and Scope

This manual is designed to provide a clear understanding of the GE DBXR463ED1WW dryer’s operation, troubleshooting, and repair processes. It covers common issues, diagnostic steps, and maintenance tips, ensuring users can identify and resolve problems effectively. The guide is tailored for both DIY enthusiasts and professionals, offering detailed instructions, error code explanations, and safety advice to facilitate successful repairs and extend appliance longevity.
1.2 Importance of Proper Maintenance and Repair
Proper maintenance and repair are essential for ensuring your GE DBXR463ED1WW dryer operates efficiently and safely. Regular tasks like cleaning the vent, inspecting belts, and replacing worn parts prevent issues like overheating and mechanical failure. Timely repairs extend the dryer’s lifespan, reduce energy consumption, and prevent costly breakdowns, ensuring reliable performance and safeguarding your investment.

Common Issues and Symptoms of the GE DBXR463ED1WW Dryer
This section outlines common issues like noisy operation, failure to start, and no heat, helping you identify symptoms and understand potential mechanical or electrical faults in your dryer.
2.1 Noisy Operation
Noise can indicate worn drum bearings, a failing drive belt, or loose objects inside. If your dryer rattles or squeaks excessively, inspect the drum bearing, drive belt, and check for obstructions. Ignoring these issues may lead to further damage, so addressing them promptly is crucial for maintaining optimal performance and longevity.
2.2 Dryer Will Not Start
If your dryer won’t start, check the power supply, ensure the door is properly closed, and verify the start switch is functioning. Faulty thermal fuses, broken belts, or control board issues may also prevent operation. Consult the error codes or manual for specific guidance, and consider resetting the dryer or testing electrical connections before seeking professional help.
2.3 Timer Will Not Advance
If the timer won’t advance, it could indicate issues with the moisture sensors, a broken belt, or control board problems. Check for proper ventilation, faulty sensors, and electrical connections. Ensure the belt is intact and functioning. If the issue persists, consult the repair manual or a professional for detailed diagnostic steps and potential component replacements.
2.4 Door Will Not Close Properly
If the door won’t close properly, check for misalignment, worn-out door strikes, or damaged hinges. Ensure the door seal is intact and clean. Inspect for obstructions or bent parts. If the latch is faulty, replace it. Verify the door frame is level and properly aligned. Consult the repair manual for detailed instructions or seek professional assistance if issues persist.
2.5 No Heat or Insufficient Heat
If your dryer produces no heat or insufficient heat, check the power supply, circuit breaker, and heating element. Ensure the vent is clear of blockages. Verify thermal fuses and thermostats are functional. Consult the repair manual for diagnostic steps. If issues persist, replace faulty components or seek professional assistance to restore proper heating function.
2.6 Dryer Will Not Tumble
If the dryer drum does not tumble, check for a broken belt, faulty motor, or control board issues. Inspect the belt for wear or damage and replace it if necessary. Ensure the motor is functioning and all connections are secure. If the problem persists, consult the repair manual or contact a professional to diagnose and repair the underlying cause.
2.7 Shuts Off Too Soon
If the dryer shuts off too soon, check for blockages in the venting system, as restricted airflow can trigger an early shut-off. Ensure moisture sensors are clean and functioning properly. Verify the thermal limit or high-limit thermostat is not faulty. Consult the error codes in the manual for specific guidance, and inspect the control board for malfunctions. If issues persist, professional assistance may be needed.
2.8 Takes Too Long to Dry
If the dryer takes too long to dry, inspect the venting system for blockages, as restricted airflow can extend drying times. Ensure the lint filter is clean and the vent hose is unobstructed. Check for proper heat output and verify that moisture sensors are clean and functioning. Consult the manual for error codes related to temperature or airflow issues. Addressing these factors can restore efficient drying performance.
2.9 Door Latch Failure
Door latch failure prevents proper closure, causing the dryer to malfunction. Common causes include worn-out latch components, misalignment, or debris buildup. Inspect the latch and strike for damage or obstructions. Replace worn parts using genuine GE components. Ensure proper alignment and clean the area to restore secure closure. Refer to the manual for detailed replacement steps or seek professional help if needed.
Diagnostic and Troubleshooting Steps
This section guides you through systematic troubleshooting, using error codes and checking connections to identify the root cause of issues and resolve them efficiently.
3.1 Systematic Approach to Identifying Problems
Begin by observing symptoms and checking error codes. Verify electrical connections and inspect components like the heating element and motor. Consult wiring diagrams for component locations and follow step-by-step repair instructions. Always prioritize safety and use genuine GE parts to ensure effective and lasting repairs.
3.2 Using Error Codes for Diagnosis
Refer to your GE DBXR463ED1WW manual for a list of error codes and their meanings. Each code indicates a specific issue, such as faulty sensors or heating elements. Use these codes to identify the problem, check connections, and replace faulty parts. If codes persist after troubleshooting, consult a professional technician for further assistance.
3.3 Checking Electrical Connections and Components
Inspect all electrical connections for looseness or damage. Verify the power supply and ensure all components, such as sensors, heating elements, and thermostats, are functioning properly. Use a multimeter to test for continuity or voltage issues. Consult the wiring diagram in your manual to trace connections and identify faulty parts. Ensure repairs are made with genuine GE replacement components for optimal performance.
Repair Parts and Tools Needed
Ensure you have genuine GE replacement parts, such as belts, heating elements, and thermostats. Essential tools include screwdrivers, wrenches, and multimeters. Source parts from reliable suppliers like Sears Parts Direct or GE-approved distributors for compatibility and quality.
4.1 Identifying Genuine GE Replacement Parts
Ensure authenticity by verifying the GE logo and part number on packaging. Cross-reference with your dryer’s model number (DBXR463ED1WW) to guarantee compatibility. Purchase from authorized dealers like Sears Parts Direct or GE-approved suppliers to avoid counterfeit products. Genuine parts maintain performance, safety, and warranty validity, ensuring reliable repairs and extending your dryer’s lifespan effectively.
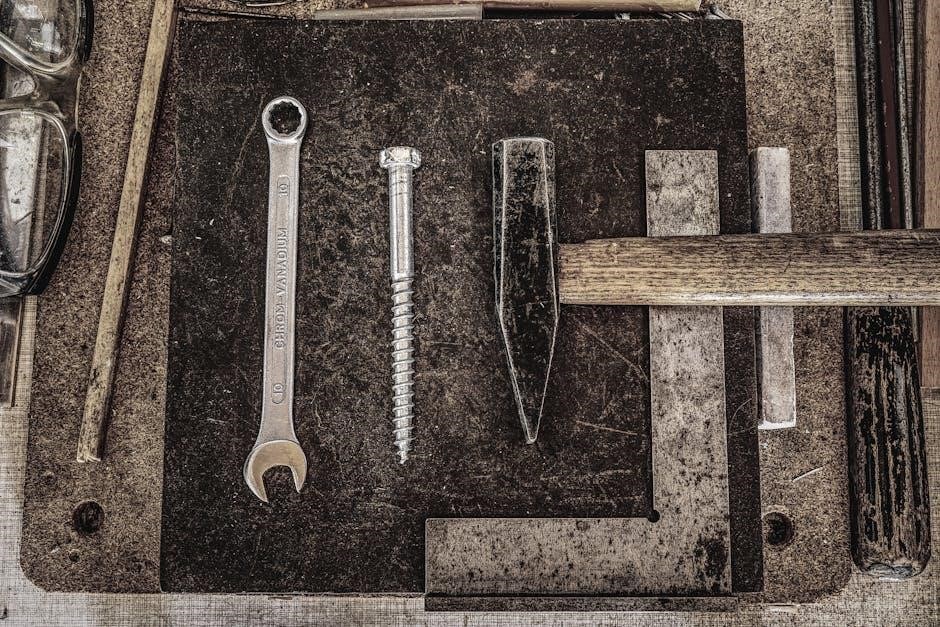
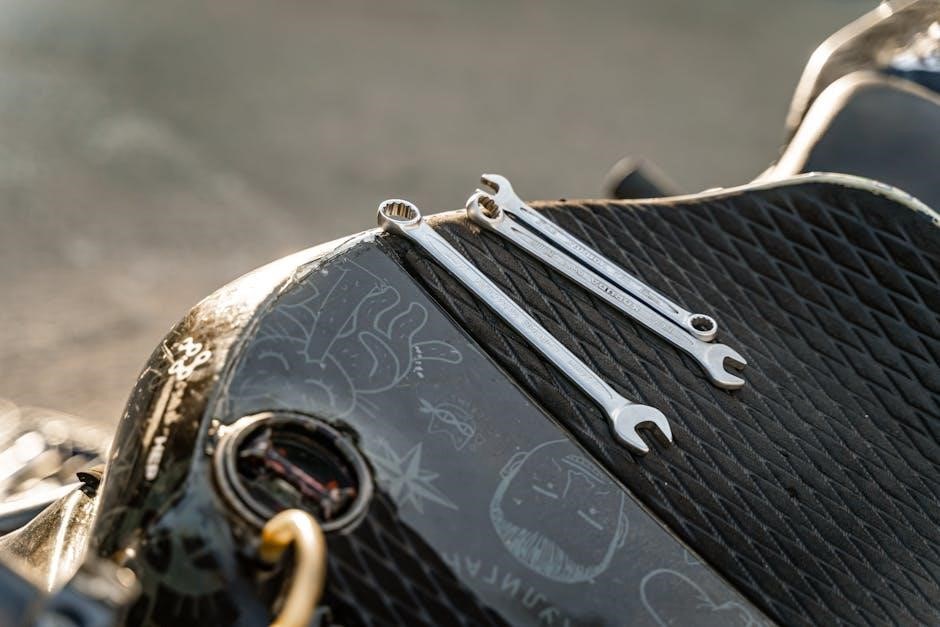
4.2 Essential Tools for DIY Repairs
For DIY repairs, gather essential tools like screwdrivers, wrenches, pliers, and Torx drivers. A multimeter is handy for electrical diagnostics. Safety gear, such as gloves and goggles, is crucial. Clamps and a work light may also be needed. These tools ensure efficient and safe repairs. Find them at hardware stores or online retailers to tackle your dryer repair confidently.
4.3 Sources for Reliable Parts and Accessories
Reliable parts for your GE DBXR463ED1WW dryer can be sourced from Sears Parts Direct, PartSelect, and GE’s official website. These platforms offer genuine GE replacement parts, ensuring compatibility and quality. Additionally, online marketplaces like Amazon and eBay provide a wide range of accessories. Always verify the seller’s ratings and use your model number to ensure accurate part selection for your repair needs.

Detailed Repair Manual and Diagrams
This section provides a comprehensive guide with wiring diagrams, component access information, and step-by-step repair instructions. It covers troubleshooting and repair procedures, ensuring clarity and ease for DIY enthusiasts and professionals alike.
5.1 Understanding Wiring Diagrams
Wiring diagrams provide a visual representation of your dryer’s electrical system, showing connections between components. They include symbols for switches, motors, and sensors, with color-coded wires for clarity. These diagrams are essential for diagnosing electrical issues, tracing circuits, and ensuring safe repairs. Refer to the manual or online resources for detailed diagrams specific to the GE DBXR463ED1WW model.
5.2 Component Access and Location Guide
This section provides detailed information on accessing and locating key components of the GE DBXR463ED1WW dryer. From the drum and heating element to sensors and electrical controls, the guide includes step-by-step instructions for safely disassembling the unit. Refer to the diagrams and descriptions to identify and locate parts efficiently, ensuring accurate repairs and minimizing downtime.
5.3 Step-by-Step Repair Instructions
This section provides clear, detailed instructions for repairing common issues with your GE DBXR463ED1WW dryer. From diagnosing problems to replacing parts, each step is outlined with precision. Use the provided diagrams and error code references to guide your repairs. Follow safety precautions and ensure proper tools are used. DIY enthusiasts will find these instructions straightforward and effective for restoring their dryer to optimal performance.

Safety Precautions and Best Practices
Always unplug the dryer before starting repairs. Wear protective gear and ensure good ventilation. Avoid overheating components and follow proper grounding procedures. Never bypass safety features, and consult a professional if unsure. Prioritize your safety to prevent accidents and ensure successful repairs.
6.1 General Safety Guidelines
Always disconnect power before repairs to avoid electric shock. Use proper tools and wear protective gear. Ensure good ventilation to prevent gas buildup. Never bypass safety features or tamper with internal mechanisms. Keep children away and follow manufacturer instructions. If unsure, consult a professional. Regular maintenance and inspections are crucial for safe operation. Prioritize your safety to prevent accidents and ensure successful repairs.
6.2 Avoiding Common Hazards During Repair
Avoid electrical hazards by always unplugging the dryer before starting repairs. Be cautious of sharp edges and moving parts. Prevent gas leaks by ensuring proper connections if your model uses gas. Never bypass safety sensors or ignore error codes. Keep flammable materials away from the repair area to avoid fire risks. Handle internal components with care to prevent damage or injury.
6.3 When to Seek Professional Assistance
Seek professional help if you encounter complex electrical issues, gas leaks, or severe mechanical damage. If error codes persist despite troubleshooting or you’re unsure about repairs, consult a qualified technician. DIY repairs can be risky without proper expertise, so prioritizing safety and appliance longevity is crucial. Don’t hesitate to contact a professional for intricate or unsafe situations.
Regular Maintenance to Prevent Issues
Regular maintenance is key to preventing issues. Clean the dryer vent and filter, inspect belts and rollers, and ensure proper installation. Schedule routine checks to ensure efficiency and safety, addressing minor problems before they escalate. Consistent upkeep extends the dryer’s lifespan and prevents unexpected breakdowns, keeping it running smoothly for years.
7.1 Cleaning the Dryer Vent and Filter
Cleaning the dryer vent and filter is essential for optimal performance. Remove lint from the filter after each use and vacuum the vent regularly. Check for blockages in the venting system, as poor airflow can cause inefficiency or safety hazards. Clean the moisture sensor and ensure all connections are secure. Regular cleaning prevents fires, reduces energy bills, and prolongs the dryer’s lifespan.
7.2 Inspecting and Replacing Worn Parts
Regularly inspect parts like belts, bearings, and seals for wear. Replace any damaged or worn components to prevent further damage. Use genuine GE parts for reliability. Refer to the manual or part diagrams for guidance. Addressing worn parts promptly ensures efficient operation and avoids costly repairs. Replace parts as needed to maintain performance and extend the dryer’s lifespan.
7.3 Scheduling Routine Maintenance Checks
Plan regular maintenance checks to ensure your GE DBXR463ED1WW dryer operates efficiently. Schedule monthly inspections of the vent system and filter. Annually, check internal components like belts and bearings. Consistency in maintenance helps prevent unexpected breakdowns, extends the appliance’s lifespan, and ensures optimal performance. Create a maintenance calendar to stay organized and proactive in caring for your dryer.
Resources and Support for Further Assistance
Access official GE support, online manuals, part diagrams, and forums for additional guidance. Visit trusted sites like PartSelect or Sears Parts Direct for reliable repair resources and assistance.
8.1 Official GE Support and Manuals
For authentic guidance, visit GE’s official website for the DBXR463ED1WW dryer. Download the PDF manual, access troubleshooting guides, and explore repair resources; GE Appliances offers detailed support, including warranty information, maintenance tips, and error code explanations. Their customer service is also available for direct assistance, ensuring you have reliable help for any dryer-related issue.
8.2 Online Communities and Forums
Online communities and forums provide valuable support for GE DBXR463ED1WW dryer repairs. Platforms like PartSelect, ManualsLib, and Repair Café offer discussions, shared experiences, and advice from DIY enthusiasts and experts. These resources allow you to ask questions, share repair stories, and access collective knowledge. Engage with these forums to find troubleshooting tips, DIY solutions, and real-life experiences to aid your repair journey effectively.
8.3 Professional Repair Services
For complex or unresolved issues, professional repair services are recommended. Certified technicians from GE or authorized providers offer expert diagnostics and efficient solutions. Additionally, platforms like Sears Parts Direct and Repair Café connect users with skilled professionals. These services ensure high-quality repairs using genuine parts, providing peace of mind and extending your dryer’s lifespan effectively and safely. Always consult licensed technicians for critical fixes to avoid further damage.
This manual provides a comprehensive guide to maintaining and repairing your GE DBXR463ED1WW dryer. Regular maintenance, proper troubleshooting, and adherence to safety guidelines will ensure optimal performance. By following the steps outlined, you can confidently address common issues and extend the lifespan of your appliance. Happy repairing!
9.1 Summary of Key Repair and Maintenance Strategies
Regular maintenance, such as cleaning vents and inspecting parts, is crucial for optimal performance. Address issues promptly using diagnostic tools and genuine GE parts. Always follow safety guidelines and consult professionals if needed. Schedule routine checks to prevent malfunctions and extend lifespan. Proper repair techniques and adherence to manual instructions ensure efficiency and reliability of your GE DBXR463ED1WW dryer.
9.2 Encouragement for DIY Enthusiasts
Embrace your DIY spirit and take control of repairs with confidence! This manual empowers you with clear guides, troubleshooting tips, and step-by-step instructions. Whether you’re a novice or experienced, tackling repairs yourself can save time and money. Remember, every successful fix brings a sense of accomplishment and extends your dryer’s lifespan.