Welcome to the Singer Sewing Machine Instruction Manual! This comprehensive guide helps you understand and operate your machine effectively. Covers setup, threading, maintenance, and troubleshooting for optimal performance. Perfect for beginners and experienced sewists alike.
1.1 Understanding the Importance of the Manual
The Singer sewing machine instruction manual is an indispensable guide for optimal use. It provides essential safety tips, step-by-step operation, and troubleshooting solutions. By following the manual, users can avoid mistakes, ensure proper machine setup, and maintain efficiency. Regularly consulting the manual helps extend the machine’s lifespan and enhances sewing outcomes, making it a crucial resource for both beginners and experienced sewists.
1.2 Overview of the Singer Sewing Machine Models
Singer offers a variety of sewing machine models, each designed for different sewing needs. Models like the Singer 1100/1120, 449, and 758 cater to both beginners and advanced sewists. These machines feature user-friendly interfaces, versatile stitch options, and durable construction. The instruction manual provides detailed guidance for each model, ensuring users can fully utilize their machine’s capabilities and achieve professional-quality results in their sewing projects.
Safety Precautions and Guidelines
Compliance with international safety standards ensures reliable operation. This machine is double-insulated; use only identical parts. Always follow safety instructions for optimal use of your Singer sewing machine.
2.1 Essential Safety Instructions for Operating the Machine
Always read the manual carefully before use. This machine is double-insulated; use only identical replacement parts. Ensure compliance with IEC/EN 60335-2-28 standards. Keep the power cord away from heat sources and avoid overloading the machine. Never operate with damaged cords or plugs. Follow all safety guidelines to ensure safe and efficient operation of your Singer sewing machine.
2.2 Compliance with International Safety Standards
Your Singer sewing machine is designed to comply with international safety standards, including IEC/EN 60335-2-28. This ensures safe operation and meets global safety regulations. Always follow the manual’s guidelines for proper use and maintenance. Double insulation enhances safety, but only use authorized parts. Compliance with these standards guarantees reliable performance and user protection, making your sewing experience secure and efficient.
Parts Identification and Machine Setup
Identify key components like the needle, bobbin, and stitch selector. Follow the manual’s step-by-step guide for assembling and setting up your Singer sewing machine correctly for smooth operation.
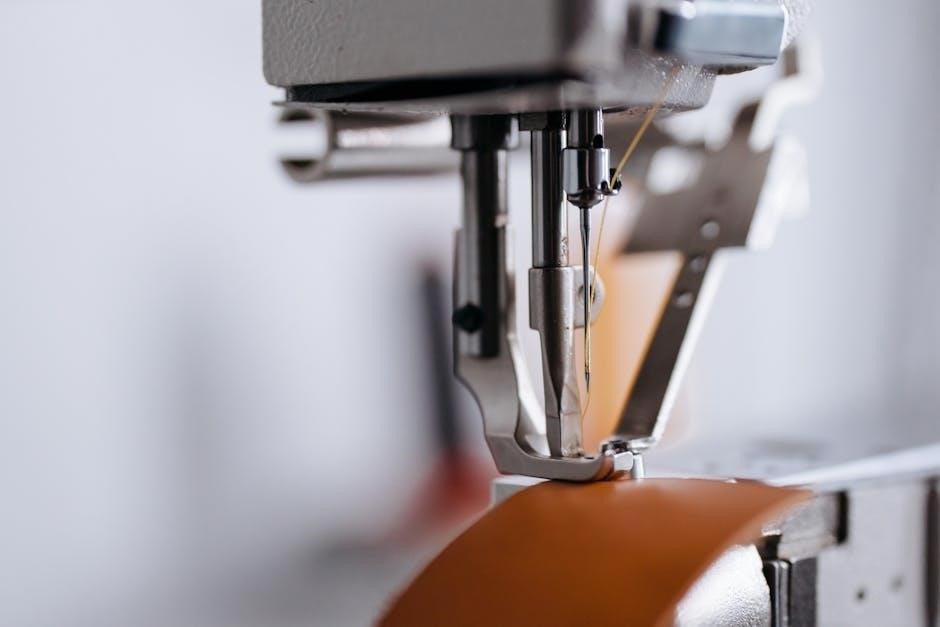
3.1 Identifying Key Components of the Sewing Machine
Understanding your Singer sewing machine begins with identifying its essential parts. Locate the spool pins, tension discs, take-up lever, and stitch length regulator. Familiarize yourself with the bobbin case, feed dogs, and presser foot. These components ensure proper threading, tension, and fabric movement; Refer to the manual’s diagrams for accurate identification and optimal machine setup.
3.2 Step-by-Step Guide to Assembling the Machine
Assembling your Singer sewing machine is straightforward when following the manual. Attach the sewing head to the base securely. Install the spool pin and bobbin holder. Align the feed dogs properly and ensure the presser foot is in place. Tighten all screws firmly but avoid over-tightening. Double-check each part for correct alignment to ensure smooth operation. Refer to the diagrams for guidance.

Threading and Bobbin Setup
Threading and bobbin setup are crucial for smooth stitching. Follow the manual’s guide to properly thread the machine and install the bobbin. Ensure tension is balanced for even stitches.
4.1 Proper Techniques for Threading the Machine
Threading the Singer sewing machine requires attention to detail. Always turn off the machine before starting. Use the spool pin for the thread and follow the diagram on the machine. Gently pull the thread through each guide, ensuring it’s seated properly. Avoid crossing or twisting the thread. Once threaded, test by sewing on scrap fabric to ensure smooth operation and proper tension.
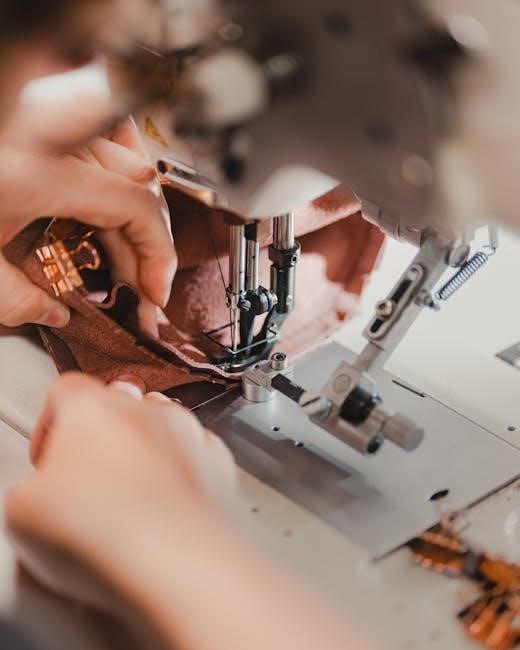
4.2 Installing and Managing the Bobbin
Installing the bobbin correctly is crucial for smooth stitching. Wind thread evenly around the bobbin, ensuring it’s not overfilled. Insert the bobbin into the bobbin case, aligning the notch. Gently pull the thread to seat it properly. Ensure the bobbin tension is balanced. If the thread is too loose or tight, adjust the bobbin screw. Proper management ensures consistent stitching and prevents thread breakage during sewing.
Basic Sewing Operations
Master the fundamentals of sewing with your Singer machine. Learn to select stitches, manage fabric flow, and maintain consistent tension for perfect results every time.
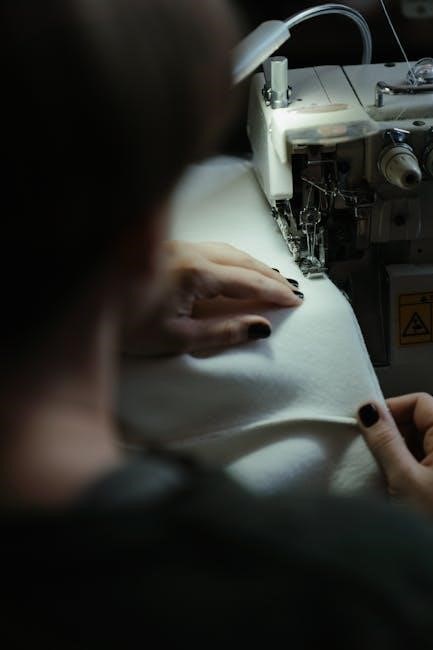
5.1 Getting Started with Your First Stitch
Begin by threading the machine correctly and installing the bobbin. Place fabric under the needle, lower the presser foot, and gently start sewing. Adjust stitch length and width as needed for even stitches. Keep the fabric steady and let the machine guide it smoothly. Always ensure proper tension to avoid thread breakage. Start with a straight stitch to get comfortable before exploring decorative patterns.
5.2 Adjusting Stitch Length and Width
Adjusting stitch length and width on your Singer sewing machine is simple. Use the control panel or stitch dial to select desired settings. Longer stitches are ideal for heavy fabrics, while shorter stitches suit delicate materials. Width adjustment is perfect for decorative stitches. Always test settings on scrap fabric before sewing your final project to ensure perfect results.

Maintenance and Care Tips
Regular cleaning and lubrication ensure smooth operation. Remove lint, oil moving parts, and store the machine in a dry place to maintain performance and longevity.
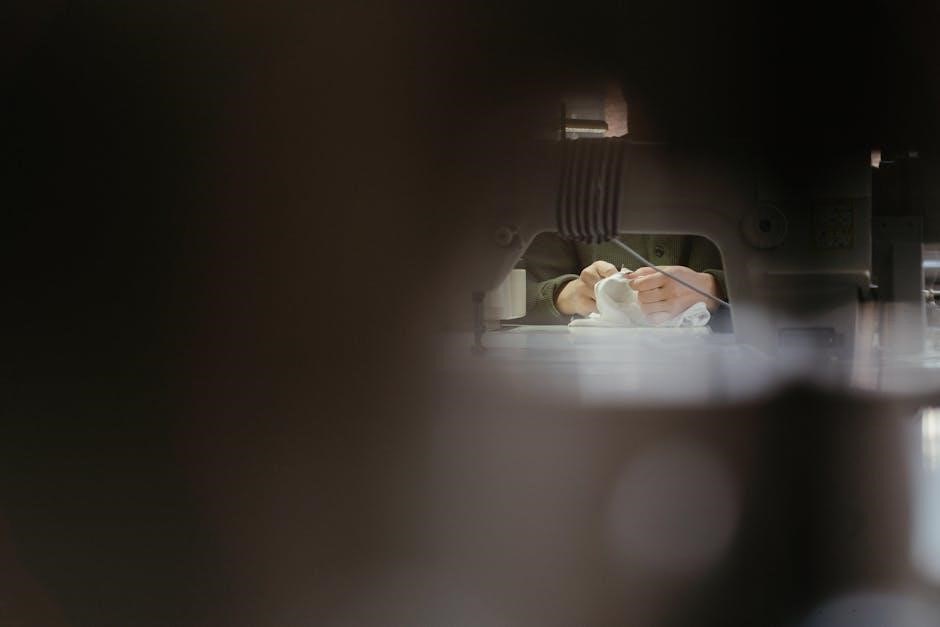
6.1 Regular Cleaning and Lubrication of the Machine
Regular cleaning and lubrication are essential for maintaining your Singer sewing machine’s performance. Use a soft brush to remove lint and debris from the bobbin area and tension discs. Apply a few drops of sewing machine oil to moving parts, such as the handwheel and shuttle hook, to ensure smooth operation. Proper maintenance extends the machine’s lifespan and prevents mechanical issues.
6.2 Servicing Double-Insulated Appliances
Double-insulated Singer sewing machines require specialized servicing to ensure safety and functionality. Use only identical replacement parts to maintain insulation integrity. Follow the manual’s guidelines for servicing to prevent electrical hazards. Regular inspection of cords and plugs is crucial. Always unplug the machine before servicing and refer to the manual for specific instructions to ensure safe and effective maintenance.
Troubleshooting Common Issues
Identify and resolve common issues with your Singer sewing machine. Address thread breakage, tension problems, and bobbin malfunctions with easy-to-follow solutions. Ensure smooth operation always.
7.1 Diagnosing and Fixing Thread Breakage
Thread breakage is a common issue that can disrupt your sewing. Check for improper threading, incorrect tension, or low-quality thread. Ensure the machine is clean and well-lubricated. Rethread the machine following the manual’s guide, adjust tension settings, and use high-quality thread. Regular maintenance can prevent such issues. Always refer to your Singer manual for specific troubleshooting steps to resolve thread breakage effectively.
7.2 Resolving Tension and Bobbin Problems
Tension and bobbin issues can hinder sewing progress. Check the bobbin for proper installation and ensure thread is evenly wound. Adjust upper and lower tension settings following the manual’s guidelines. If the bobbin isn’t spinning smoothly, clean lint from the bobbin area and rethread the machine. Regularly inspect and replace worn-out parts to maintain optimal performance and prevent further complications.
Accessories and Attachments
Explore Singer sewing machine accessories like specialized presser feet, extension tables, and embroidery hoops. These attachments enhance functionality and allow for diverse stitching techniques. Optional add-ons include zipper, buttonhole, and blind hem feet, expanding your creative possibilities for various sewing projects.
8.1 Overview of Compatible Singer Sewing Machine Accessories
Singer sewing machines offer a wide range of compatible accessories to enhance your sewing experience. These include presser feet for specialized tasks like zippers, buttonholes, and blind hems. Additional attachments such as extension tables, embroidery hoops, and quilting guides are available. Accessories vary by model, ensuring optimal performance and versatility. Visit Singer’s official website or authorized dealers to explore compatible accessories for your machine.
8.2 Using Optional Attachments for Specialized Sewing
Optional attachments for Singer sewing machines allow for specialized sewing tasks. Use presser feet for zippers, buttonholes, or blind hems. Embroidery hoops and quilting guides enable intricate designs. These attachments enhance creativity and precision. Always refer to your machine’s compatibility list to ensure proper fit and function. Experiment with different attachments to expand your sewing capabilities and achieve professional results in various projects.

Advanced Features and Techniques
Unlock your Singer sewing machine’s full potential with advanced features like decorative stitching, programmable settings, and specialized functions. Explore techniques for intricate embroidery, precision quilting, and custom designs. These tools elevate your sewing skills, enabling you to create professional-quality projects with ease and creativity.
9.1 Exploring Decorative Stitches and Patterns
Your Singer sewing machine offers a variety of built-in decorative stitches and patterns to enhance your sewing projects. The manual provides detailed guidance on selecting and customizing these stitches, allowing you to create intricate designs with ease. From floral motifs to geometric patterns, explore the creative possibilities and elevate your fabric crafts to professional-quality results; Optional attachments further expand your design options for unique finishes.
9.2 Mastering Free-Arm Sewing and Other Advanced Functions
Free-arm sewing allows for greater control when working on cylindrical or hard-to-reach areas like cuffs and sleeves. The manual guides you through this technique and other advanced functions, such as automatic threading and specialty feet. Explore features like programmable stitches and memory settings to streamline your sewing process. With practice, these advanced functions will enhance your precision and efficiency, helping you achieve professional-grade results effortlessly.
Additional Resources and Support
Access free PDF manuals, troubleshooting guides, and online communities for Singer sewing machines. Join forums, download resources, and contact customer support for assistance and sewing tips.
10.1 Accessing Free PDF Manuals and Guides Online
Download free Singer sewing machine manuals in PDF format from trusted sources like ManualsLib, Singer’s official website, or authorized suppliers. These guides cover setup, maintenance, troubleshooting, and advanced features. Access step-by-step instructions, diagrams, and tips for optimal performance. Available for various Singer models, ensuring you find the right manual for your machine. Print or save for easy reference anytime.
10.2 Finding Online Communities and Forums for Singer Sewing Machines
Connect with sewing enthusiasts and experts through online communities and forums dedicated to Singer sewing machines. Platforms like Sewing Parts Online, Singer Sewing Machines Group on Facebook, and specialized sewing forums offer tips, troubleshooting advice, and inspiration. Engage with users, share experiences, and access resources to enhance your sewing skills and mastery of your Singer machine.

Tips for Optimal Performance
Regularly clean and lubricate your machine, use high-quality threads, and maintain proper tension. Store the machine in a dry place and follow the manual’s guidelines for best results.
11.1 Best Practices for Maintaining Your Machine
Regularly clean the machine to remove dust and debris. Lubricate moving parts as instructed to ensure smooth operation. Store the machine in a dry, cool place to prevent rust. Always use genuine Singer replacement parts for repairs. Refer to the manual for specific maintenance schedules and guidelines to keep your machine in optimal condition and extend its lifespan.
11;2 Tricks for Achieving Professional-Quality Stitches
To achieve professional-quality stitches, ensure proper threading and tension adjustments. Use the correct needle type and thread for your fabric. Keep the machine clean and well-lubricated for smooth operation. Utilize the built-in stitches and accessories for versatility. Practice consistent fabric feeding and maintain a steady pace. Regularly review your stitches to make necessary adjustments. With time and practice, you’ll produce professional-quality results effortlessly.
Your Singer Sewing Machine Instruction Manual is a comprehensive guide to unlocking your machine’s full potential. From setup to troubleshooting, it equips you with essential knowledge. Keep practicing, exploring new techniques, and enjoying the creative possibilities of sewing. Happy stitching!
12.1 Summary of Key Takeaways
12.2 Encouragement for Continuous Learning and Practice
Continuous learning and practice are key to mastering your Singer sewing machine. Explore advanced features, experiment with new techniques, and refine your skills. Utilize online resources, tutorials, and communities for inspiration and support. Regular practice will enhance your creativity and confidence, helping you achieve professional-quality results. Embrace sewing as a lifelong skill and enjoy the journey of creating something truly special.