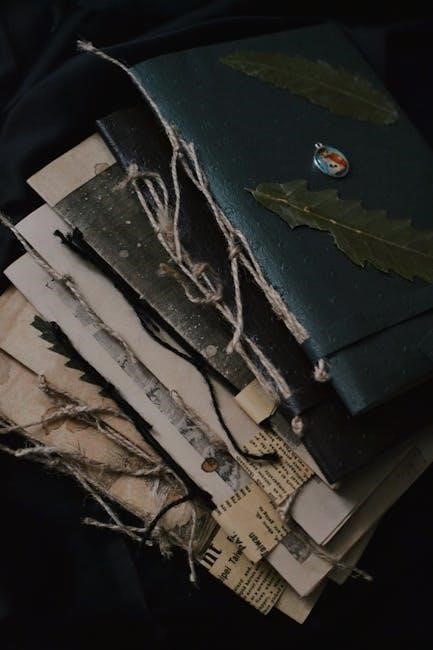
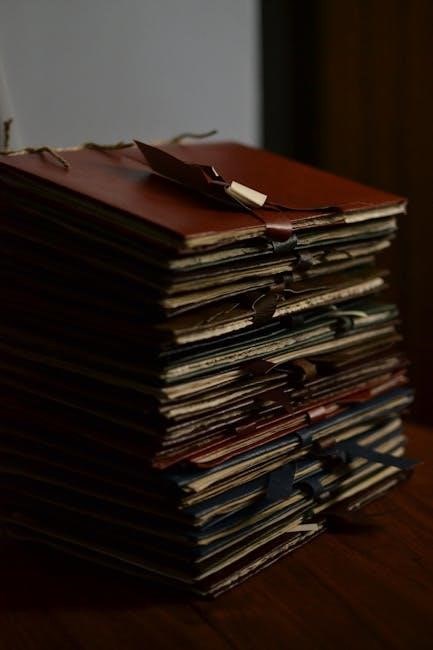
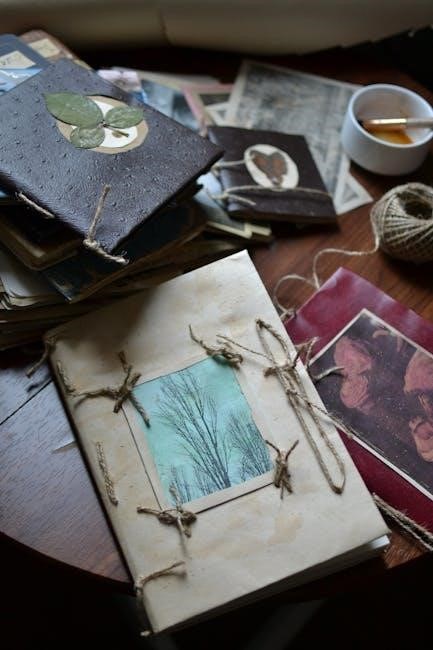
Bookbinding tutorials offer a gateway into a rewarding craft, blending artistry and practicality. Explore diverse techniques, from simple single folio notebooks to complex case binding.
Discover resources like YouTube and Skillshare, alongside communities on Reddit, providing guidance for beginners and seasoned enthusiasts alike.
What is Bookbinding?
Bookbinding is the ancient art and craft of physically assembling and securing pages to create a book. It’s far more than simply holding pages together; it’s a process involving folding, sewing, and gluing to produce a durable and aesthetically pleasing volume.
Historically, bookbinding was essential for preserving knowledge, but today it’s a vibrant creative outlet. Tutorials demonstrate techniques ranging from basic single folio stitching – perfect for sketchbooks – to intricate methods like Coptic binding and case binding (hardcover books).
Essentially, bookbinding transforms loose sheets into a cohesive, lasting form, offering a tangible connection to the written word and a beautiful handmade object.
Why Learn Bookbinding?
Learning bookbinding unlocks a unique blend of creativity and practicality. It’s a deeply satisfying skill, allowing you to create personalized journals, sketchbooks, or beautifully bound gifts. Bookbinding tutorials empower you to move beyond mass-produced books and craft something truly special.
Beyond the artistic fulfillment, bookbinding fosters patience and precision. It’s a mindful activity, offering a welcome respite from digital life. Resources like YouTube and online communities make learning accessible, even with minimal initial investment – some projects utilize dollar store supplies!
Ultimately, bookbinding connects you to a rich historical tradition while providing a rewarding, tangible skill.
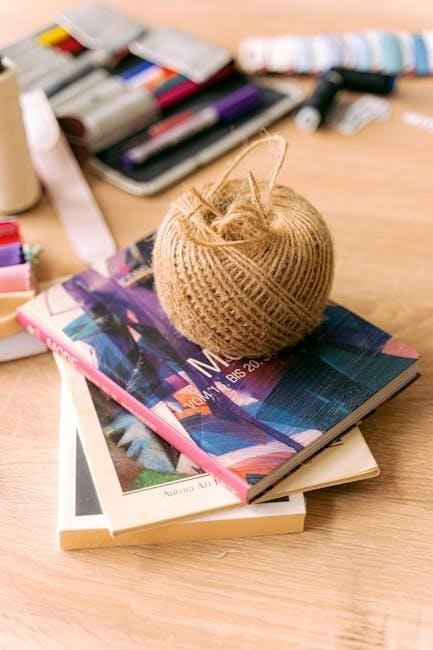
Essential Tools for Bookbinding
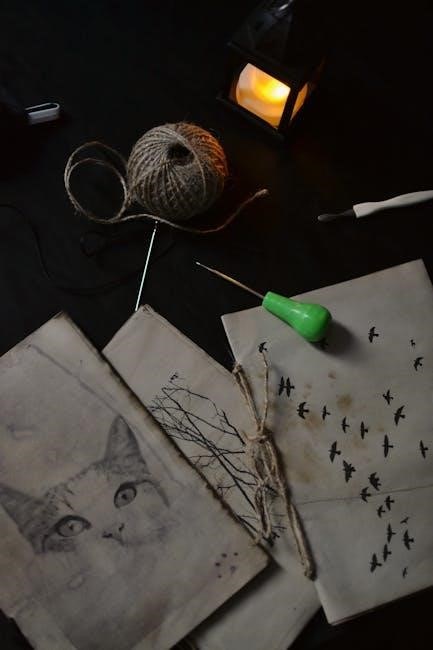
Bookbinding tutorials reveal that basic tools include needles, thread, knives, cutting boards, bone folders, rulers, and various glues – starting your crafting journey!
Needles and Thread
Bookbinding tutorials emphasize selecting the right needles and thread for your project. Bookbinding needles typically have rounded tips and large eyes, facilitating easier threading, though standard needles can also work.
Any type of thread is usable, but thinner threads may benefit from being doubled for increased strength. The choice depends on the aesthetic and structural requirements of the binding. Experimentation is key!
Consider the weight and material of your paper when choosing thread; heavier papers require stronger thread. Tutorials often demonstrate various stitching patterns, influencing thread selection.
Cutting Tools: Knives and Boards
Bookbinding tutorials consistently highlight the importance of sharp cutting tools for precise results. A reliable knife, often a craft knife or scalpel, is essential for trimming paper and materials accurately.
Always pair your knife with a self-healing cutting board to protect your work surface and maintain blade sharpness. Dull blades are dangerous and produce ragged edges, impacting the final aesthetic.
Tutorials demonstrate techniques for straight, clean cuts, emphasizing controlled pressure and multiple passes rather than forcing the blade. Safety is paramount when using sharp instruments.
Adhesives: Glue Types and Uses
Bookbinding tutorials emphasize selecting the right adhesive for each project stage. PVA glue (Polyvinyl Acetate) is a popular choice for its flexibility and archival qualities, ideal for book blocks and attaching covers.
Glue problems are common for beginners, so tutorials stress applying thin, even layers to prevent warping or bubbling. Japanese paper repair glue, or wheat paste, is often used for delicate paper repairs.
Understanding drying times and proper clamping techniques are crucial for strong, lasting bonds. Experimentation and practice will help determine the best glue for your specific needs;
Folding Tools: Bone Folders and Rulers
Bookbinding tutorials consistently highlight the importance of precise folding, achievable with bone folders and rulers. A bone folder, traditionally made of animal bone, now often plastic, creates crisp, clean creases without damaging the paper fibers.
Rulers, particularly those with metal edges, ensure accurate measurements for folds and cutting. Tutorials demonstrate how to use the tools together to create perfectly aligned pages and covers.
Mastering these techniques is fundamental, as accurate folds contribute significantly to the overall quality and professional appearance of the finished book.
Basic Bookbinding Techniques
Bookbinding tutorials begin with foundational methods like the single folio stitch, Japanese binding, and Coptic binding, ideal for beginners to grasp core skills.
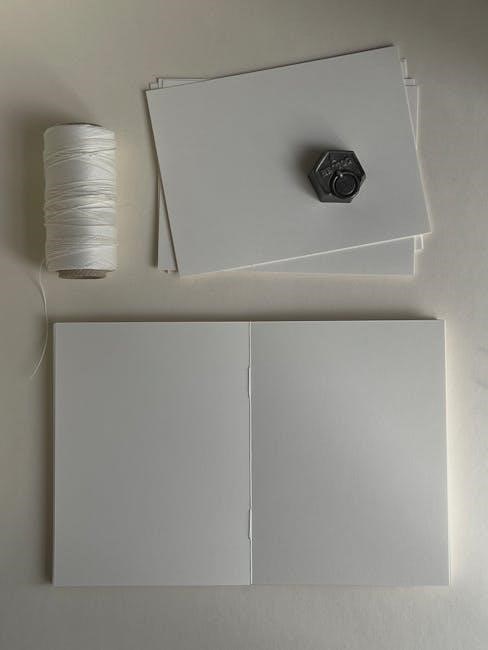
The Single Folio Stitch
The single folio stitch is a fantastic starting point for bookbinding tutorials, creating a simple, hand-sewn notebook. This technique involves folding a single sheet of paper (the folio) and stitching it together through pre-marked holes.
Essential tools include a needle – bookbinding needles with rounded tips are preferred, but any needle will work – and thread. Any thread is suitable, though thinner threads may benefit from being doubled for strength;
Begin by using a pencil to carefully plot your stitching holes along the fold. This method is perfect for sketching or note-taking, offering a quick and accessible introduction to the craft.
Marking Stitching Holes
Marking stitching holes is a crucial first step in the single folio stitch, ensuring a neat and secure binding. Using a pencil, carefully measure and mark the desired locations along the fold of your paper.
Consistent spacing is key – typically, three to five holes are sufficient for a standard folio. Accuracy at this stage directly impacts the final appearance and structural integrity of your booklet.
Consider using a ruler to ensure straight lines and even distances between each mark. Precise hole placement prevents tearing and allows for smooth, even stitching throughout the process, as highlighted in beginner bookbinding tutorials.
Stitching the Folio
Stitching the folio transforms marked paper into a bound booklet. Thread a bookbinding needle – any needle can work, but specialized ones have rounded tips – and begin stitching through the pre-marked holes.
Start from the outside, leaving a tail of thread. Alternate between holes, creating a running stitch along the spine. If using thin thread, doubling it up adds strength.
Secure the final stitch with a knot, and trim the thread tails. This simple technique, often featured in beginner bookbinding tutorials, creates a functional and aesthetically pleasing single folio notebook, perfect for sketching or notes.
Japanese Binding (stab binding)
Japanese binding, also known as stab binding, is a visually striking technique characterized by exposed stitching. This method involves punching holes through the pages and cover, then threading the needle through these holes in a specific pattern.
Unlike Western binding, it doesn’t rely on glue. It’s a versatile style, allowing for creative stitching patterns. Preparation of the text block is crucial for alignment.
Many bookbinding tutorials demonstrate this ancient art, offering a unique approach to creating beautiful and durable books.
Preparing the Text Block
Preparing the text block for Japanese stab binding requires precision. First, gather your chosen paper and ensure all sheets are neatly aligned. Then, carefully fold each sheet in half, creating individual folios.
Stack these folios together, ensuring a clean and even edge. This alignment is vital for successful stitching.
Lightly clamp or weight the stack to maintain its form during the punching process. Accurate preparation guarantees a professional and aesthetically pleasing final product, as demonstrated in many bookbinding tutorials.
Stitching Patterns
Stitching patterns in Japanese binding are incredibly diverse, offering aesthetic and structural variations. Common patterns include the four-hole hemp-leaf stitch and the six-hole stitch, each impacting the book’s flexibility and appearance.
The choice depends on the paper weight and desired look.
Bookbinding tutorials often demonstrate how to adapt these patterns or create unique designs. Experimentation is encouraged! Mastering these patterns requires careful attention to hole placement and thread tension, resulting in a beautifully bound and durable text block.
Coptic Binding
Coptic binding is an ancient technique known for its exposed spine and lay-flat pages. This method links sections of a book together using chain stitches, creating a visually striking and functional binding.
Bookbinding tutorials emphasize the importance of consistent stitch length and tension for a secure and aesthetically pleasing result.
It’s a versatile style, accommodating various paper types and cover materials. Mastering Coptic binding opens doors to creating unique journals, sketchbooks, and artist books.
Creating Sewing Stations
Bookbinding tutorials for Coptic binding begin with establishing precise sewing stations. These stations, marked along the spine of each section (or signature), are crucial for consistent stitching.
Typically, an odd number of stations are used – three, five, or seven – ensuring a balanced and secure bind. Accurate marking, often with a template or ruler, is essential.
The distance between stations should be equal, and holes are carefully pierced using an awl. Proper station creation is foundational for a successful Coptic binding.
Linking the Sections
Bookbinding tutorials demonstrate that linking sections in Coptic binding is a unique process. Each section is sewn directly to its neighbor, creating an exposed spine with visible stitching.
Using a needle and thread, begin by passing through the first station of the first section, then through the corresponding station of the second section, and so on.
This continues until all sections are connected, forming a chain-like structure. The tension must be consistent to avoid warping, resulting in a beautifully articulated and durable book.
Intermediate Bookbinding Techniques
Bookbinding tutorials reveal techniques like case binding for durable covers, long stitch binding for artistic spines, and spiral binding for practicality.
Case Binding (Hardcover Bookbinding)
Case binding, also known as hardcover bookbinding, is a more advanced technique resulting in a durable and aesthetically pleasing book. Bookbinding tutorials demonstrate that this process involves two main stages: preparing the book block and creating the case (cover).
Preparing the book block requires careful sewing of sections together, followed by rounding and backing the spine. The case itself is constructed from boards covered in cloth, leather, or decorative papers. Precise measurements and careful gluing are crucial for a well-fitted and lasting hardcover binding.
Many online resources offer step-by-step guidance, making this traditionally complex skill accessible to dedicated learners.
Preparing the Book Block
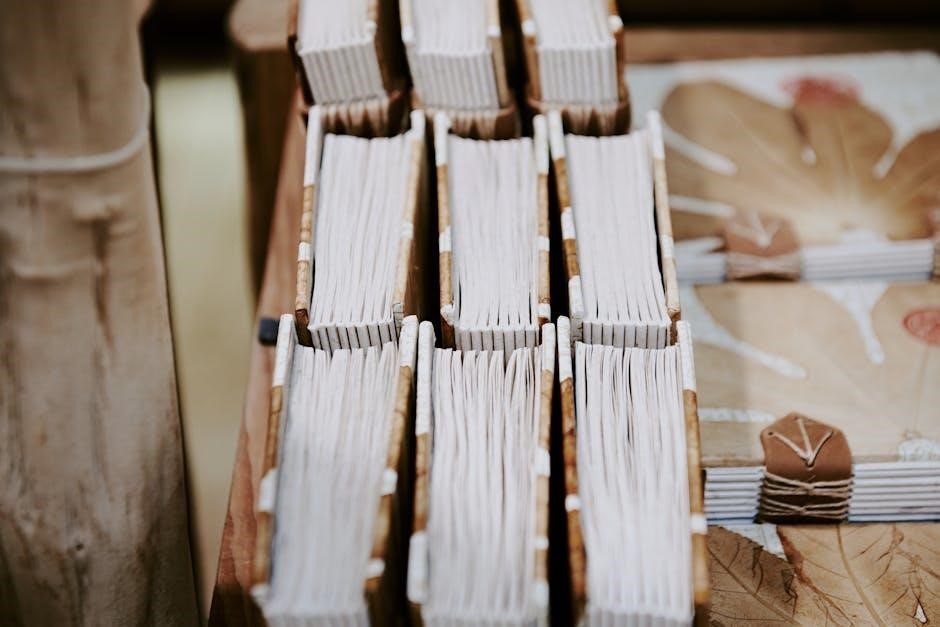
Bookbinding tutorials emphasize that preparing the book block for case binding is foundational. This begins with accurately folding the text sheets, then grouping them into sections, or signatures. These sections are then sewn together using a needle and thread, creating a strong and flexible spine.
Rounding and backing the spine are critical steps, shaping it to accommodate the cover boards. This process involves gently hammering the spine to create a convex curve. Finally, the spine is lined with mull and gauze for added strength and to provide a surface for adhering the cover.
Creating the Case (Cover)
Bookbinding tutorials detail that crafting the case, or cover, involves precise measurements and careful construction. Begin by cutting book board to the correct size, accounting for the book block’s dimensions and desired overhang. These boards form the structure of the cover.
Next, cover the boards with the chosen material – book cloth, leather, or decorative papers – adhering it smoothly and precisely. Spine pieces are then attached, ensuring a snug fit. Finally, endpapers are carefully glued to the inside of the cover, connecting it to the book block.
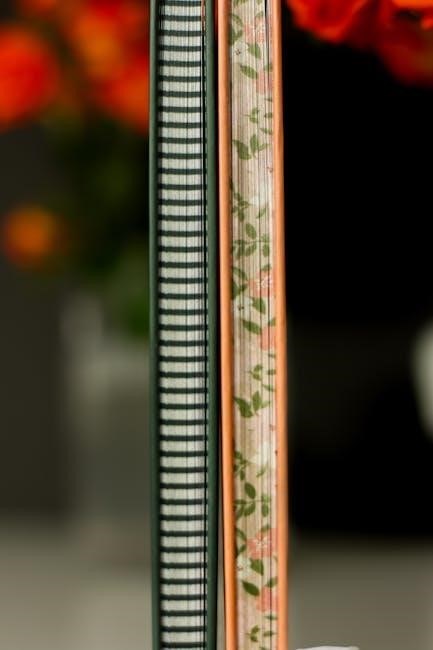
Long Stitch Binding
Bookbinding tutorials showcase Long Stitch Binding as a visually striking technique. It’s characterized by long, visible stitches running along the spine, creating a decorative element. The process begins with punching stitching holes through the text block and cover simultaneously, ensuring alignment.
Then, using a strong thread, the long stitch technique involves weaving the thread in and out of the holes, creating a secure and aesthetically pleasing binding. This method allows for a relatively quick and durable binding, often favored for its exposed stitch detail.
Punching Stitching Holes
Bookbinding tutorials emphasize precision when punching stitching holes, a crucial step for a neat and secure binding. Using a bookbinding awl or a specialized punching cradle, carefully mark and pierce the spine of the text block and cover. Consistent spacing is vital for a professional finish.
Ensure the holes align perfectly between the cover and the pages. Some tutorials suggest using a template to guarantee uniformity. The number of holes depends on the desired aesthetic and the book’s size, influencing the binding’s strength and appearance.
The Long Stitch Technique
Bookbinding tutorials showcase the Long Stitch Technique as a visually striking and relatively simple method. This involves stitching through the spine of the book, with the thread visible on the exterior, creating a decorative element.
Typically, the thread travels across the spine, looping around the cover boards, and then back across, forming long, elegant stitches. Mastering tension is key to achieving a smooth, even appearance. This technique is excellent for showcasing beautiful threads and adds a unique handcrafted touch to your books.
Spiral Binding (Coil Binding)
Bookbinding tutorials frequently demonstrate Spiral Binding, also known as coil binding, as a quick and efficient method. This technique utilizes a plastic or metal coil to hold pages together. It’s similar to methods used in creating spiral notebooks.
Often, a binding machine is employed to punch holes along the spine, then the coil is inserted. Coil material options vary, impacting durability and appearance. While easy and effective, it’s noted that spiral binding may not be as long-lasting as other methods, but is ideal for projects needing frequent page turning.
Using a Binding Machine
Bookbinding tutorials focusing on Spiral Binding often highlight the use of a dedicated binding machine. These machines streamline the process significantly, ensuring consistent hole punching along the spine of your document. The machine’s adjustable guides accommodate various paper sizes and coil pitches.
The process involves aligning the pages, clamping them securely, and activating the punching mechanism. Following this, the coil is threaded through the punched holes, typically using a closing tool to secure it. Mastering the machine’s operation is key to achieving professional-looking results.
Coil Material Options
Bookbinding tutorials demonstrate that coil material significantly impacts the final product’s durability and appearance in Spiral Binding. Plastic coils are a popular, cost-effective choice, ideal for documents requiring frequent handling, like notebooks. They come in a wide array of colors, adding a customizable touch.
Metal coils, though more expensive, offer superior strength and a professional aesthetic. These are often preferred for calendars or documents needing long-term preservation. Understanding the properties of each material allows you to select the best option for your specific bookbinding project.
Materials for Bookbinding
Bookbinding tutorials emphasize selecting quality paper and cover materials. Choices range from lightweight sketching paper to durable book cloth and elegant leather options.
Paper Selection
Paper selection is crucial in bookbinding tutorials, impacting both the aesthetic and structural integrity of your project. Consider paper weight; lighter weights are ideal for sketching, while heavier weights provide durability for journals. Understanding paper grain is also vital – running it parallel to the spine prevents warping.
Different projects demand different paper types. Smooth papers suit calligraphy, while textured papers enhance watercolor. Tutorials often guide you through experimenting with various options to achieve desired results. Choosing the right paper elevates your bookbinding experience, ensuring longevity and visual appeal.
Paper Weight and Grain
Paper weight, measured in pounds (lbs) or grams per square meter (gsm), significantly affects a book’s feel and durability. Lighter weights (around 20lb/75gsm) are suitable for quick sketching or notes, while heavier weights (80lb/130gsm+) offer a more substantial feel for journals. Paper grain refers to the direction the fibers run.
Running the grain parallel to the spine minimizes warping and allows for easier page turning. Tutorials emphasize testing grain direction before cutting. Ignoring grain can lead to books that buckle or resist lying flat. Understanding these factors is fundamental to successful bookbinding.
Paper Types for Different Projects
Bookbinding tutorials highlight that paper choice depends on the project’s purpose. For sketching, smooth, acid-free drawing paper is ideal. Journals benefit from slightly textured papers that accept ink well. Long-stitch binding or Coptic binding often uses heavier, decorative papers for visible spine elements.
Experiment with watercolor paper for mixed-media projects, and consider archival-quality papers for heirloom books. Tutorials often suggest testing paper with your chosen inks and adhesives to prevent bleeding or damage. Different weights and finishes impact the final aesthetic and functionality.
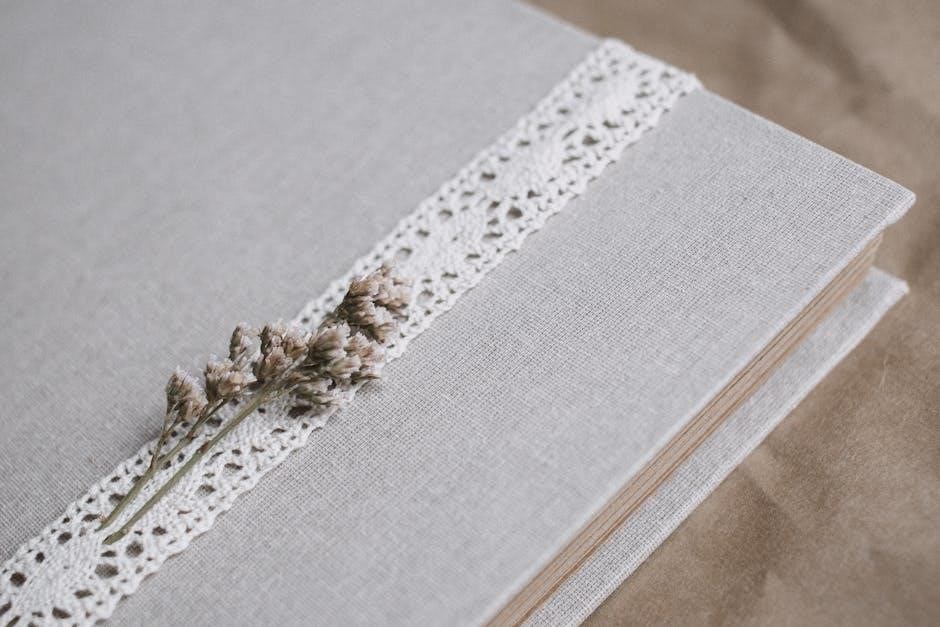
Cover Materials
Bookbinding tutorials demonstrate a wide range of cover material options. Book cloth, a durable and versatile fabric, is a popular choice for case binding. Leather offers a luxurious, long-lasting finish, often used in traditional techniques. For unique projects, decorative papers provide aesthetic appeal, suitable for long stitch binding.
Consider the weight and thickness of the material relative to the book block. Tutorials emphasize preparing the material correctly – sizing, adhering, and finishing – to ensure a professional and durable cover. Experimentation is key to finding the perfect material for your vision.
Book Cloth
Book cloth is a foundational material explored in many bookbinding tutorials. It’s a sturdy, woven fabric, often cotton or linen, coated with a durable adhesive backing. This makes it ideal for covering book boards in case binding, providing a smooth, protective surface.
Tutorials demonstrate techniques for accurately adhering book cloth, avoiding bubbles and wrinkles. Different colors, patterns, and textures are available, allowing for creative expression. Proper application ensures longevity and a professional finish, making it a favorite among both beginner and experienced bookbinders.
Leather
Bookbinding tutorials frequently showcase leather as a premium cover material, prized for its durability and aesthetic appeal. Working with leather requires specific techniques, often demonstrated in detailed online guides. Preparation involves selecting appropriate leather weights and tanning methods for optimal binding.
Tutorials cover processes like paring, skiving, and tooling, allowing for customized designs. Adhering leather to book boards demands specialized adhesives and careful application. While more challenging than cloth, mastering leather binding elevates a project, resulting in a luxurious and long-lasting book.
Decorative Papers
Bookbinding tutorials often highlight decorative papers as an accessible and visually striking cover option. These papers, available in countless patterns and colors, offer a creative alternative to cloth or leather. Tutorials demonstrate techniques for selecting papers with appropriate weight and grain for durability.
Applying decorative papers often involves careful cutting, precise alignment, and secure adhesion to book boards. Many guides showcase methods for enhancing the paper with coatings or overlays for added protection and visual interest. They are a fantastic starting point for beginners exploring bookbinding.
Resources for Bookbinding Tutorials
Bookbinding tutorials abound online! YouTube, Skillshare, dedicated blogs, and the Reddit community (r/bookbinding) provide diverse learning paths for all skill levels.
Online Video Tutorials (YouTube)
YouTube serves as an invaluable resource for visual learners seeking bookbinding tutorials. Channels like Sealemon offer comprehensive guides, even demonstrating projects achievable with affordable, dollar store supplies – perfect for beginners;
These videos break down complex techniques into manageable steps, covering everything from basic single folio stitching to more advanced methods. The platform’s search functionality allows users to pinpoint specific techniques or projects, catering to individual interests and skill levels.
Visual demonstrations are crucial for understanding the nuances of folding, stitching, and gluing, making YouTube an excellent starting point for anyone interested in learning this craft.
Bookbinding Blogs and Websites
Numerous bookbinding blogs and websites provide detailed instructions and inspiration for aspiring book artists. Resources like the University of Toronto’s Research Guides offer a curated selection of binding techniques and further learning materials.
Websites often feature step-by-step photographic tutorials, allowing users to follow along at their own pace. Blogs frequently showcase projects from experienced bookbinders, offering creative ideas and troubleshooting tips.
These platforms are excellent for exploring different binding styles and understanding the historical context of this ancient craft, supplementing video tutorials with in-depth written explanations.
Bookbinding Communities (Reddit)
Reddit’s r/bookbinding serves as a vibrant online community for bookbinding enthusiasts of all skill levels. This platform allows beginners to ask questions, share their projects, and receive constructive feedback from experienced binders.
Discussions often cover a wide range of topics, from tool recommendations and material sourcing to troubleshooting common issues like gluing, folding, and cutting.
The subreddit fosters a supportive environment where members can learn from each other and explore the diverse world of bookbinding, making it a valuable resource for tutorials and inspiration.
Troubleshooting Common Bookbinding Issues
Bookbinding can present challenges! Address uneven pages, loose stitching, or glue problems with patience and online resources for successful project completion.
Uneven Pages
Uneven pages in a bookbinding project are a common frustration, often stemming from inconsistent paper cutting or inaccurate folding. Ensuring precise measurements and utilizing a bone folder for crisp, even folds are crucial preventative steps.
If unevenness occurs, carefully assess the issue – is it a consistent offset throughout the book, or random variations? Minor discrepancies can sometimes be addressed during trimming, but significant differences may require re-folding or, in severe cases, re-cutting the text block.
Remember to always account for paper grain when folding, as it significantly impacts the final result. Consistent pressure and a sharp bone folder are your allies in achieving professional-looking, even pages.
Loose Stitching
Loose stitching is a frequent issue for beginner bookbinders, often caused by insufficient tension during the stitching process or using thread that is too weak for the paper weight. Ensure your thread is pulled taut with each stitch, but avoid over-tightening, which can tear the paper.
Double-threading the needle can provide extra strength, especially with thinner threads. Regularly check your stitches as you work, reinforcing any that feel insecure. If stitches loosen after completion, carefully re-stitch those sections, ensuring a secure knot at the beginning and end.
Selecting the correct needle size for your thread and paper is also vital for preventing loose stitching.
Glue Problems
Glue problems are common in bookbinding, ranging from insufficient adhesion to warping or staining. Choosing the right glue is crucial; PVA is popular for its flexibility and strength, while other options exist for specific materials. Apply glue evenly and sparingly to avoid bleed-through.
Ensure surfaces are clean and dry before applying glue. Use weights or clamps to apply consistent pressure while the glue dries, preventing warping. If glue oozes, wipe it away immediately with a damp cloth. Allow sufficient drying time before proceeding to the next step, typically 24 hours for PVA.